PREPARATION
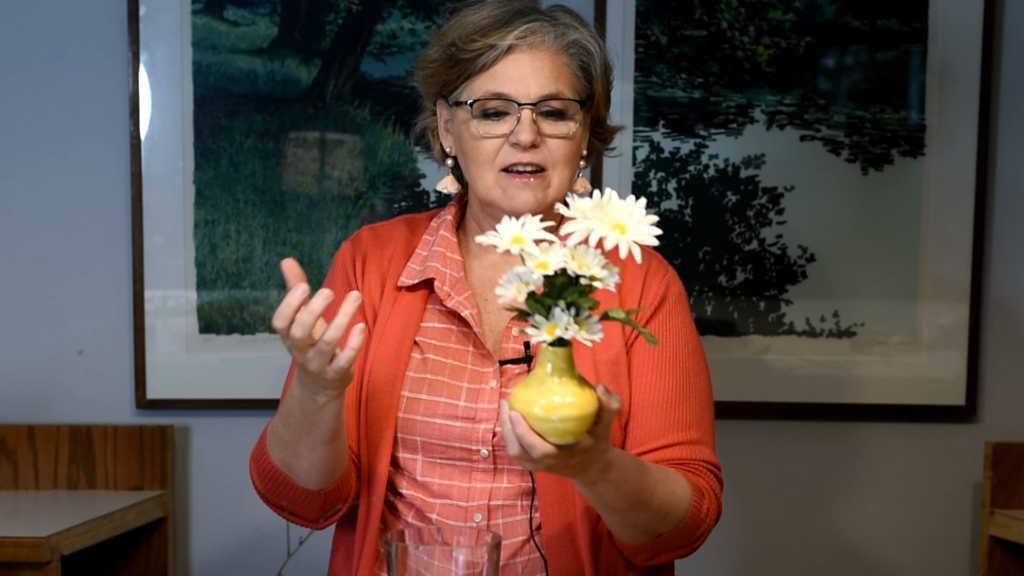
I thought you would enjoy seeing how I put together this easy DIY Spring floral arrangement and enjoy it all summer long.
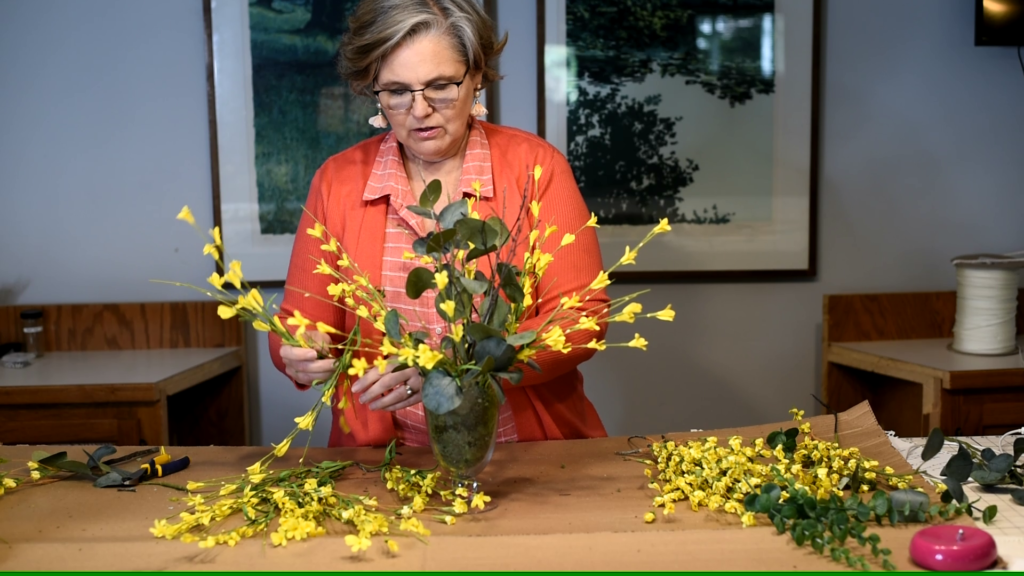
Forsythia was abundant on the east coast in Virginia and I absolutely loved seeing it burst forth every spring. It was one of the first signs of spring along with the crocus and dogwoods. If you aren’t familiar with this spectacular bush here is a link to a collection of google search images. I wanted to capture that feeling in that moment of Springtime by putting some forsythia in my family room. Today, I am going to show you how you can too.
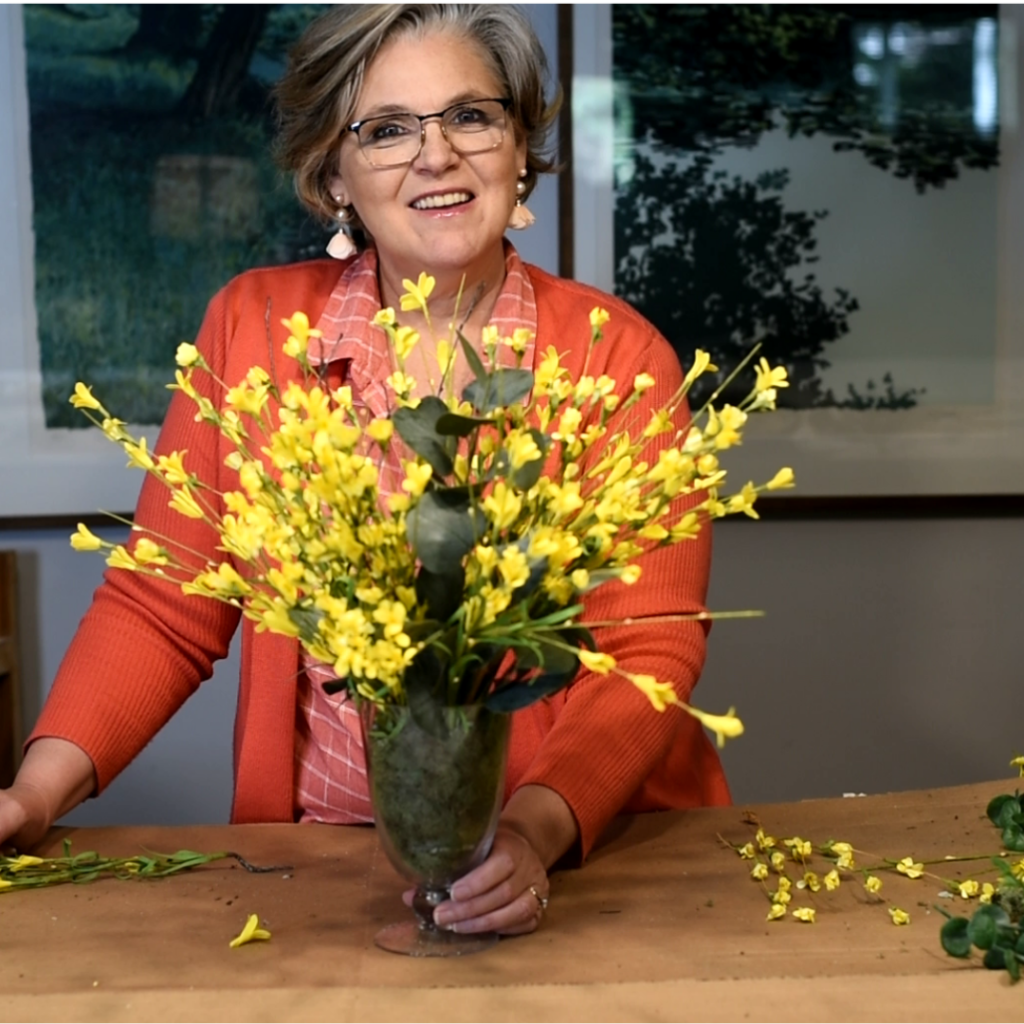
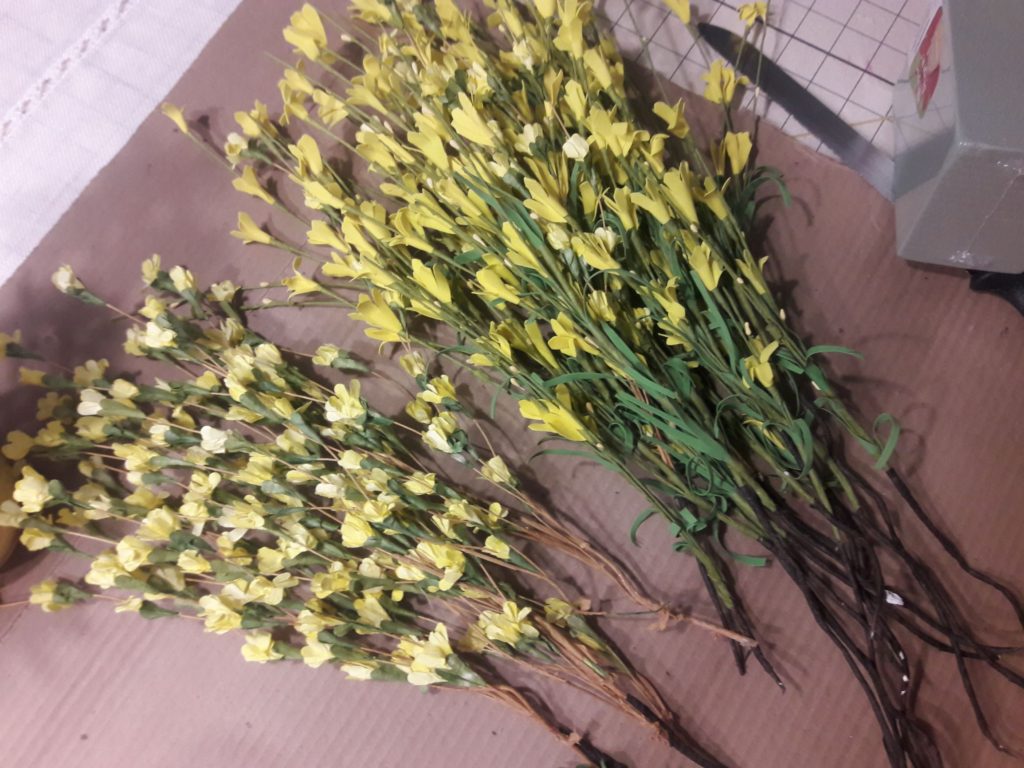
I got these artifical stems at Jo-Ann fabrics for about $2 a piece on sale. Two branches came on one stem so I cut many of them apart. It’s always nice to use at least two different size blooms to create interest and texture, especially if you’re making a flower arrangement with only one color like this one. I thought these would be a nice combination.
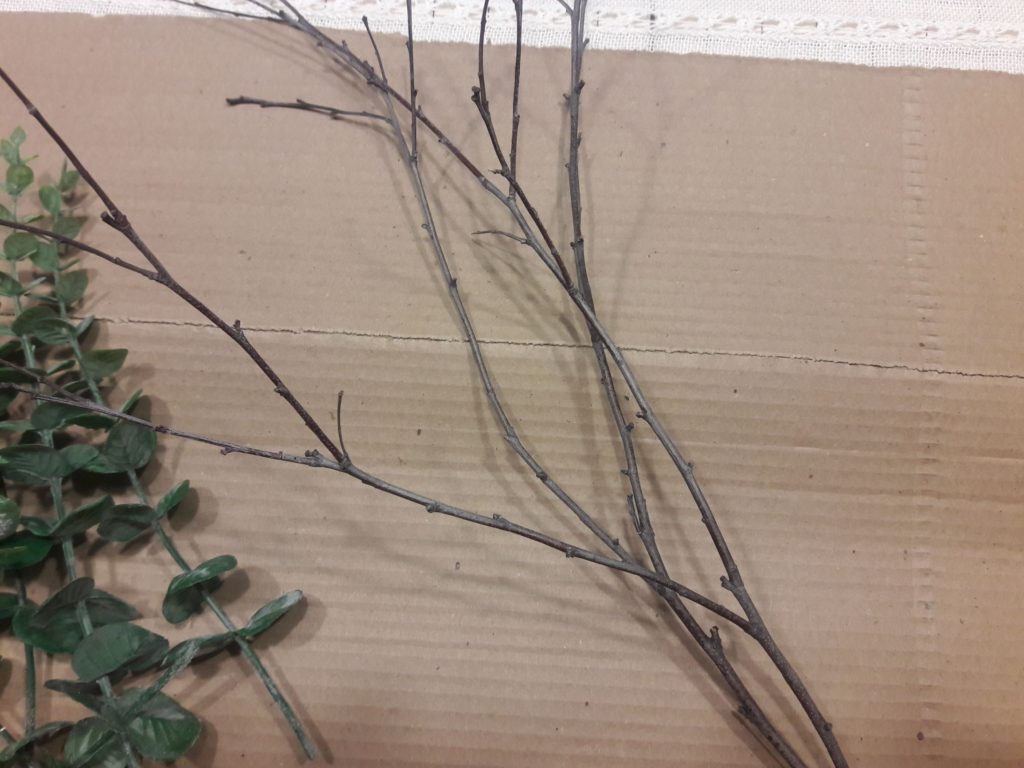
I also grabbed some Birch branches from my backyard. Your yard can be a wealth of possible material for a DIY flower arrangement. I’m going to use some of that for that natural look. If you don’t want it look all twiggy it’s nice to have a little bit of greenery at the base to hide some of those gaps between the stems.
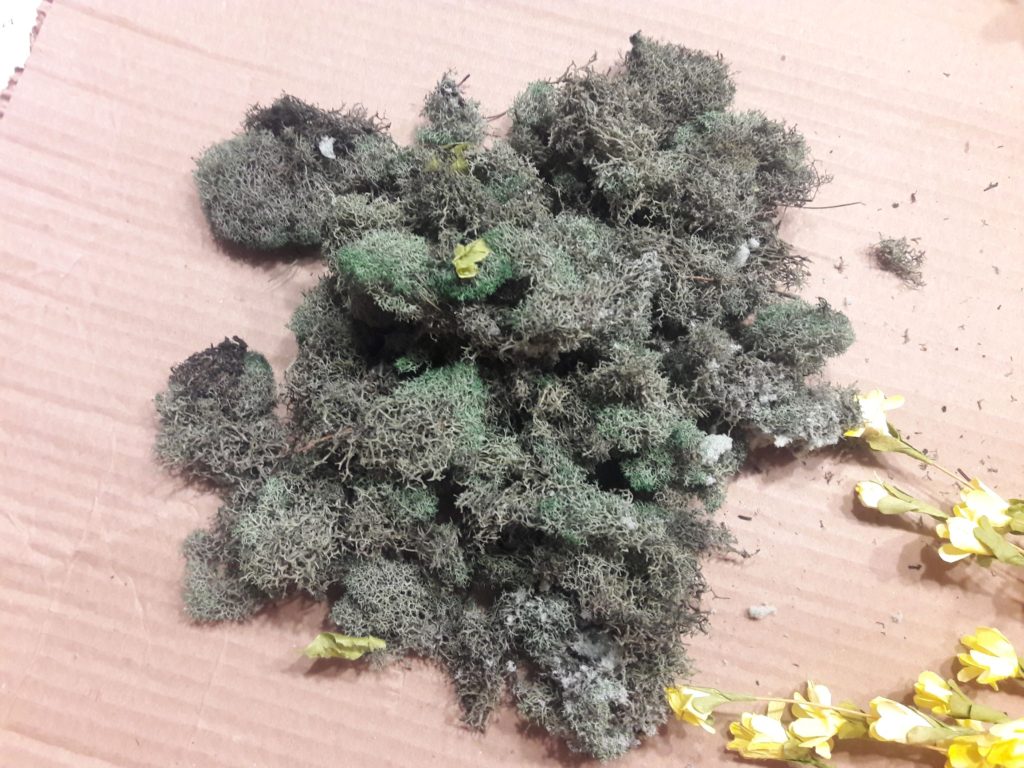
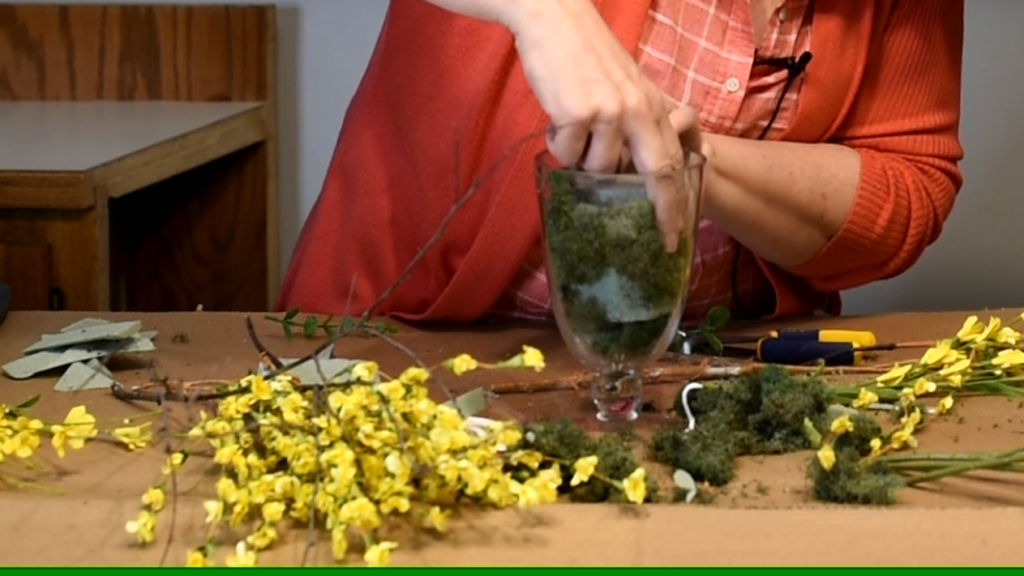
You will also need Spanish moss. The Spanish moss is for the base to cover the foam.
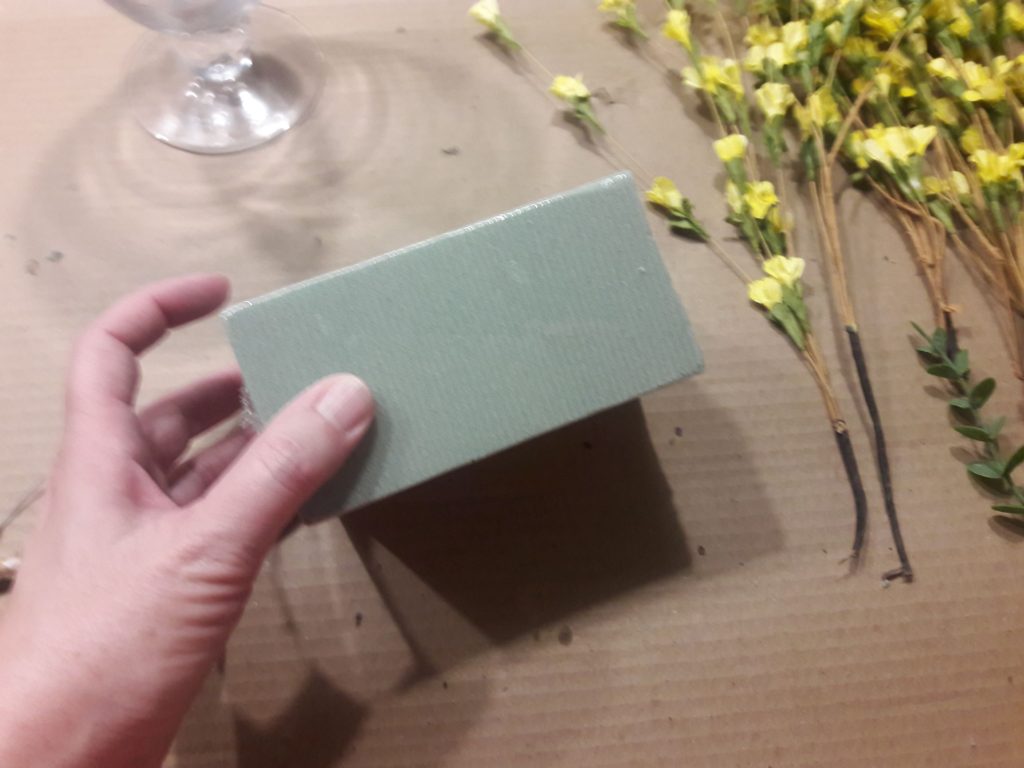
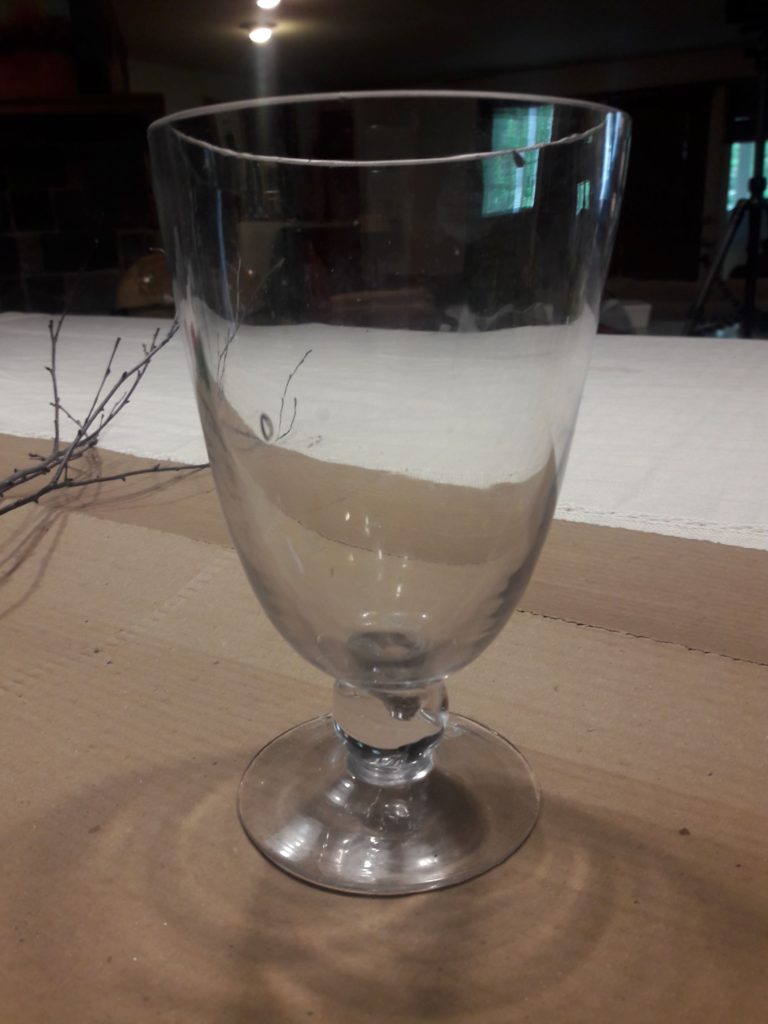
This is artificial foam. There is a darker green foam that you can use for fresh flowers. Since I am using artificial flowers and an open-topped vase, I’m using this foam. The vase came from my inventory of decor items I bought for decorating a hair salon each Christmas. So I thought I would use this for my base for my flowers.
Okay, so, to begin, what we need to do is just take some artificial foam and cut it with a bread knife or a serrated edge knife to fit into my vase. It’s easy.
You can use almost anything for a vase of a flower arrangement. Today I’m making a large and easy DIY flower arrangement.
If you have a narrow topped vase…. My son made this. You don’t need anything but a couple stems. It’s a sweet little thing that we put by our sink.
So If you have a vase with a narrow neck you can just put a couple stems in it. But if you have something like the glass vase I am using which is larger, you are going to need some kind of a foam to hold the stems. Otherwise the stems would to just flop over
Because it’s a glass vase I don’t want the foam to be seen and have it touching the vase. I am going to put Spanish moss between the foam and the glass. Cut off the corners so it is not touching the vase. Then put some spanish moss at the bottom of the vase because there’s going to be a gap between the foam and the bottom of the curved vase. Fill in around the foam with the moss. Simple as that. Making sure that, as you go, that you’re pushing the moss down to cover the foam so you don’t see the foam. I use a long knife to get down to the bottom because my fingers aren’t long enough. It doesn’t look very natural when you see the foam. Right? Making sure that you can’t see the foam and there’s no gaps.
PREPARING THE BASE
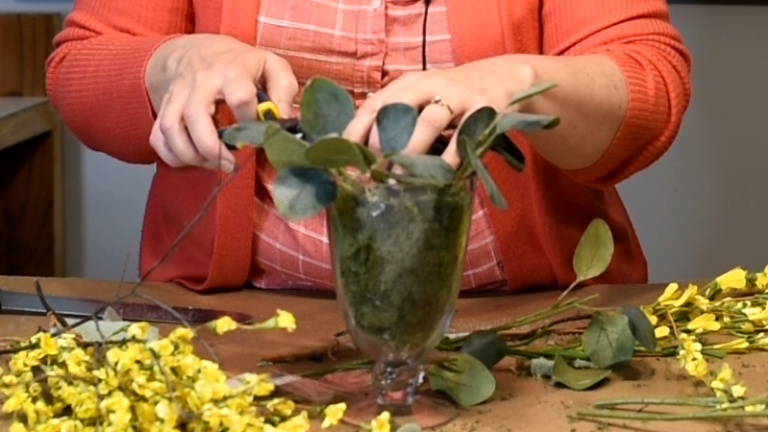
Before I can put the stems in, I want to put some greenery in the base here. Grab your wire cutters. You’re tempted to just cut at the bottom where the side stems meet the main stem but that’s a little bit too long for what I’m intending. It’s okay to go ahead and cut it even shorter than that if that’s what you need. The key to flower arranging is balance. So if I’m going to put a little bit on one side, I am going to put one on the other side so there is a balance and a symmetry to your floral arrangement. And put those on the other two sides so that there’s four or more coming from center. Those are going to be the base.
ARRANGING THE STEMS
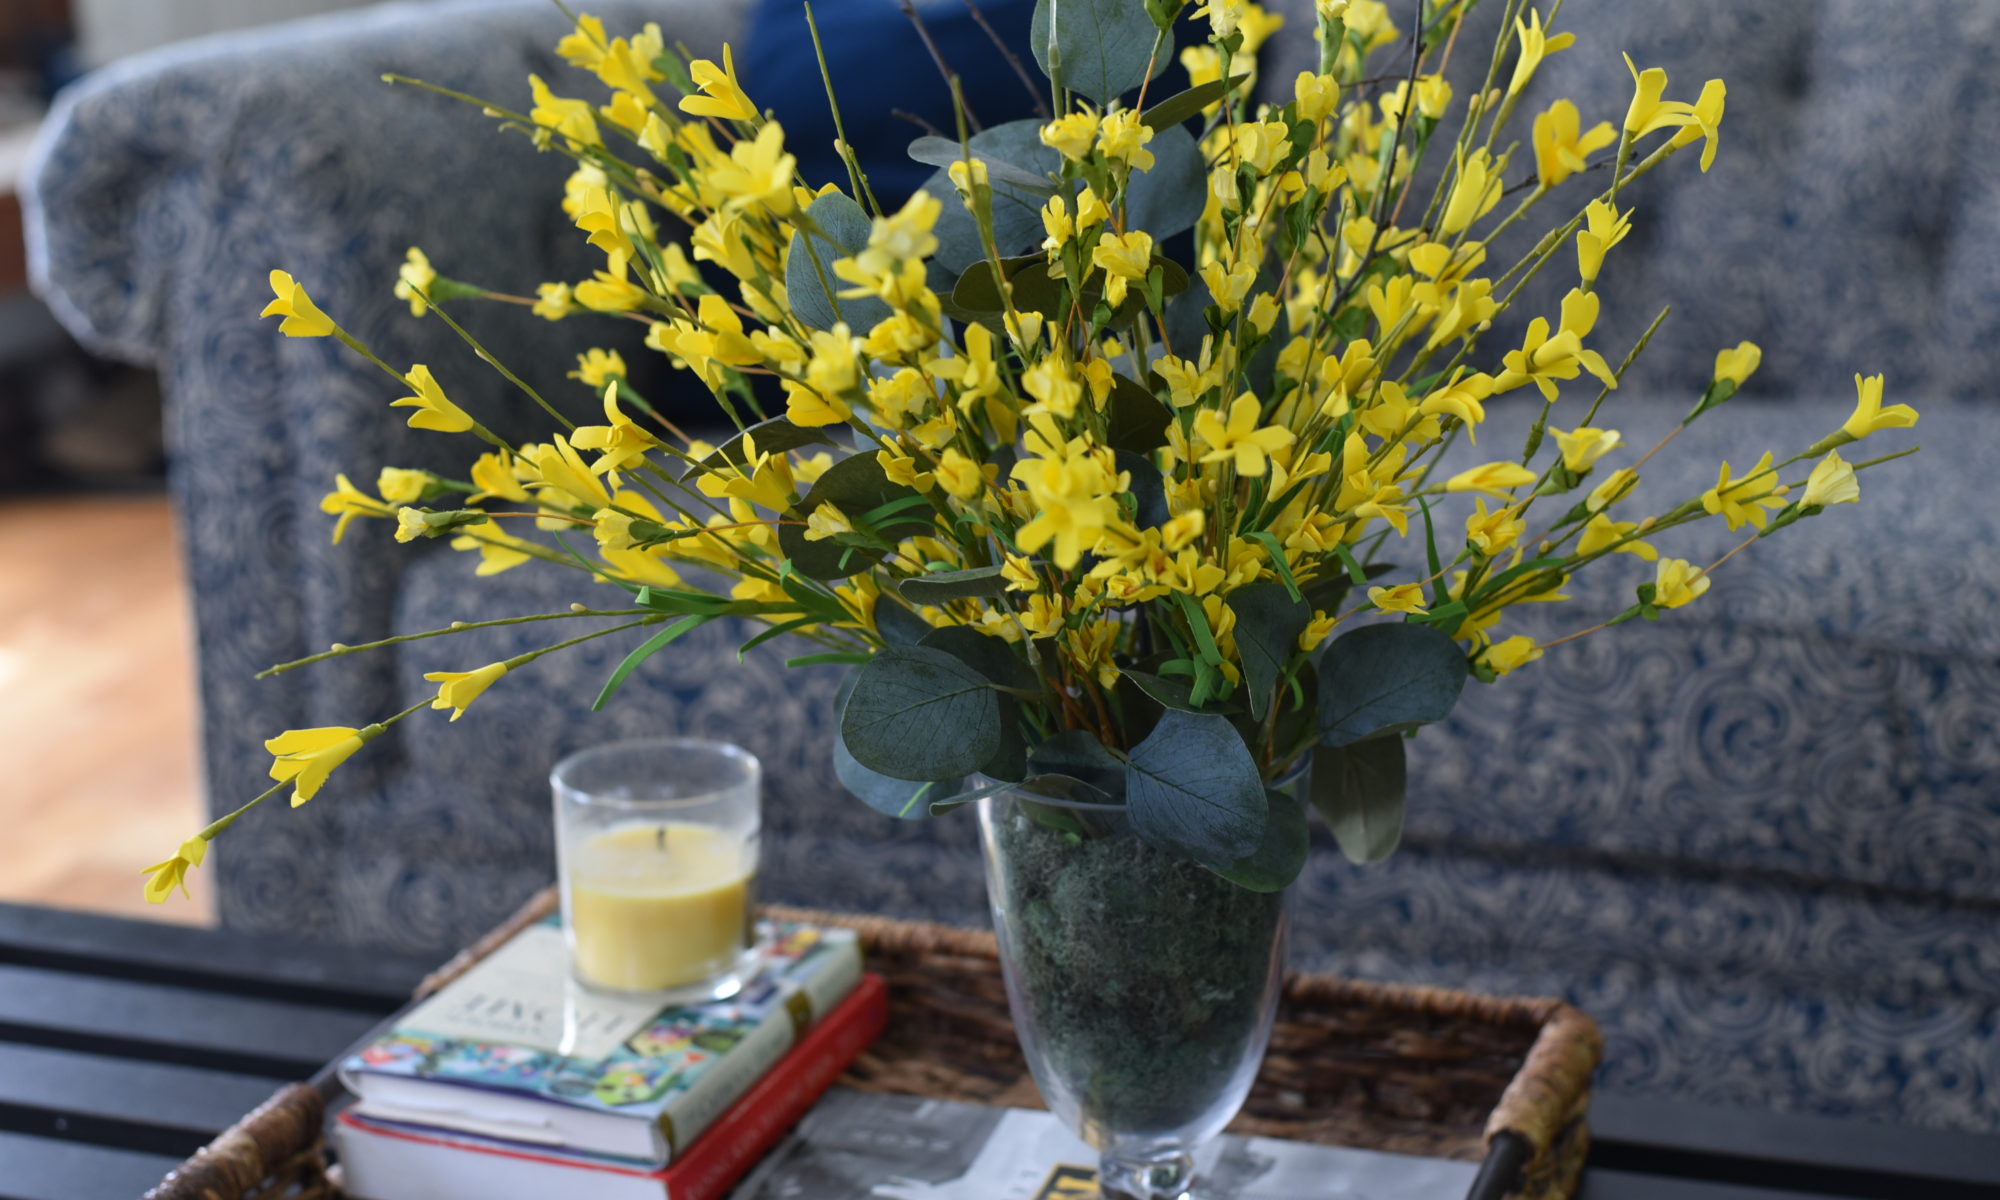
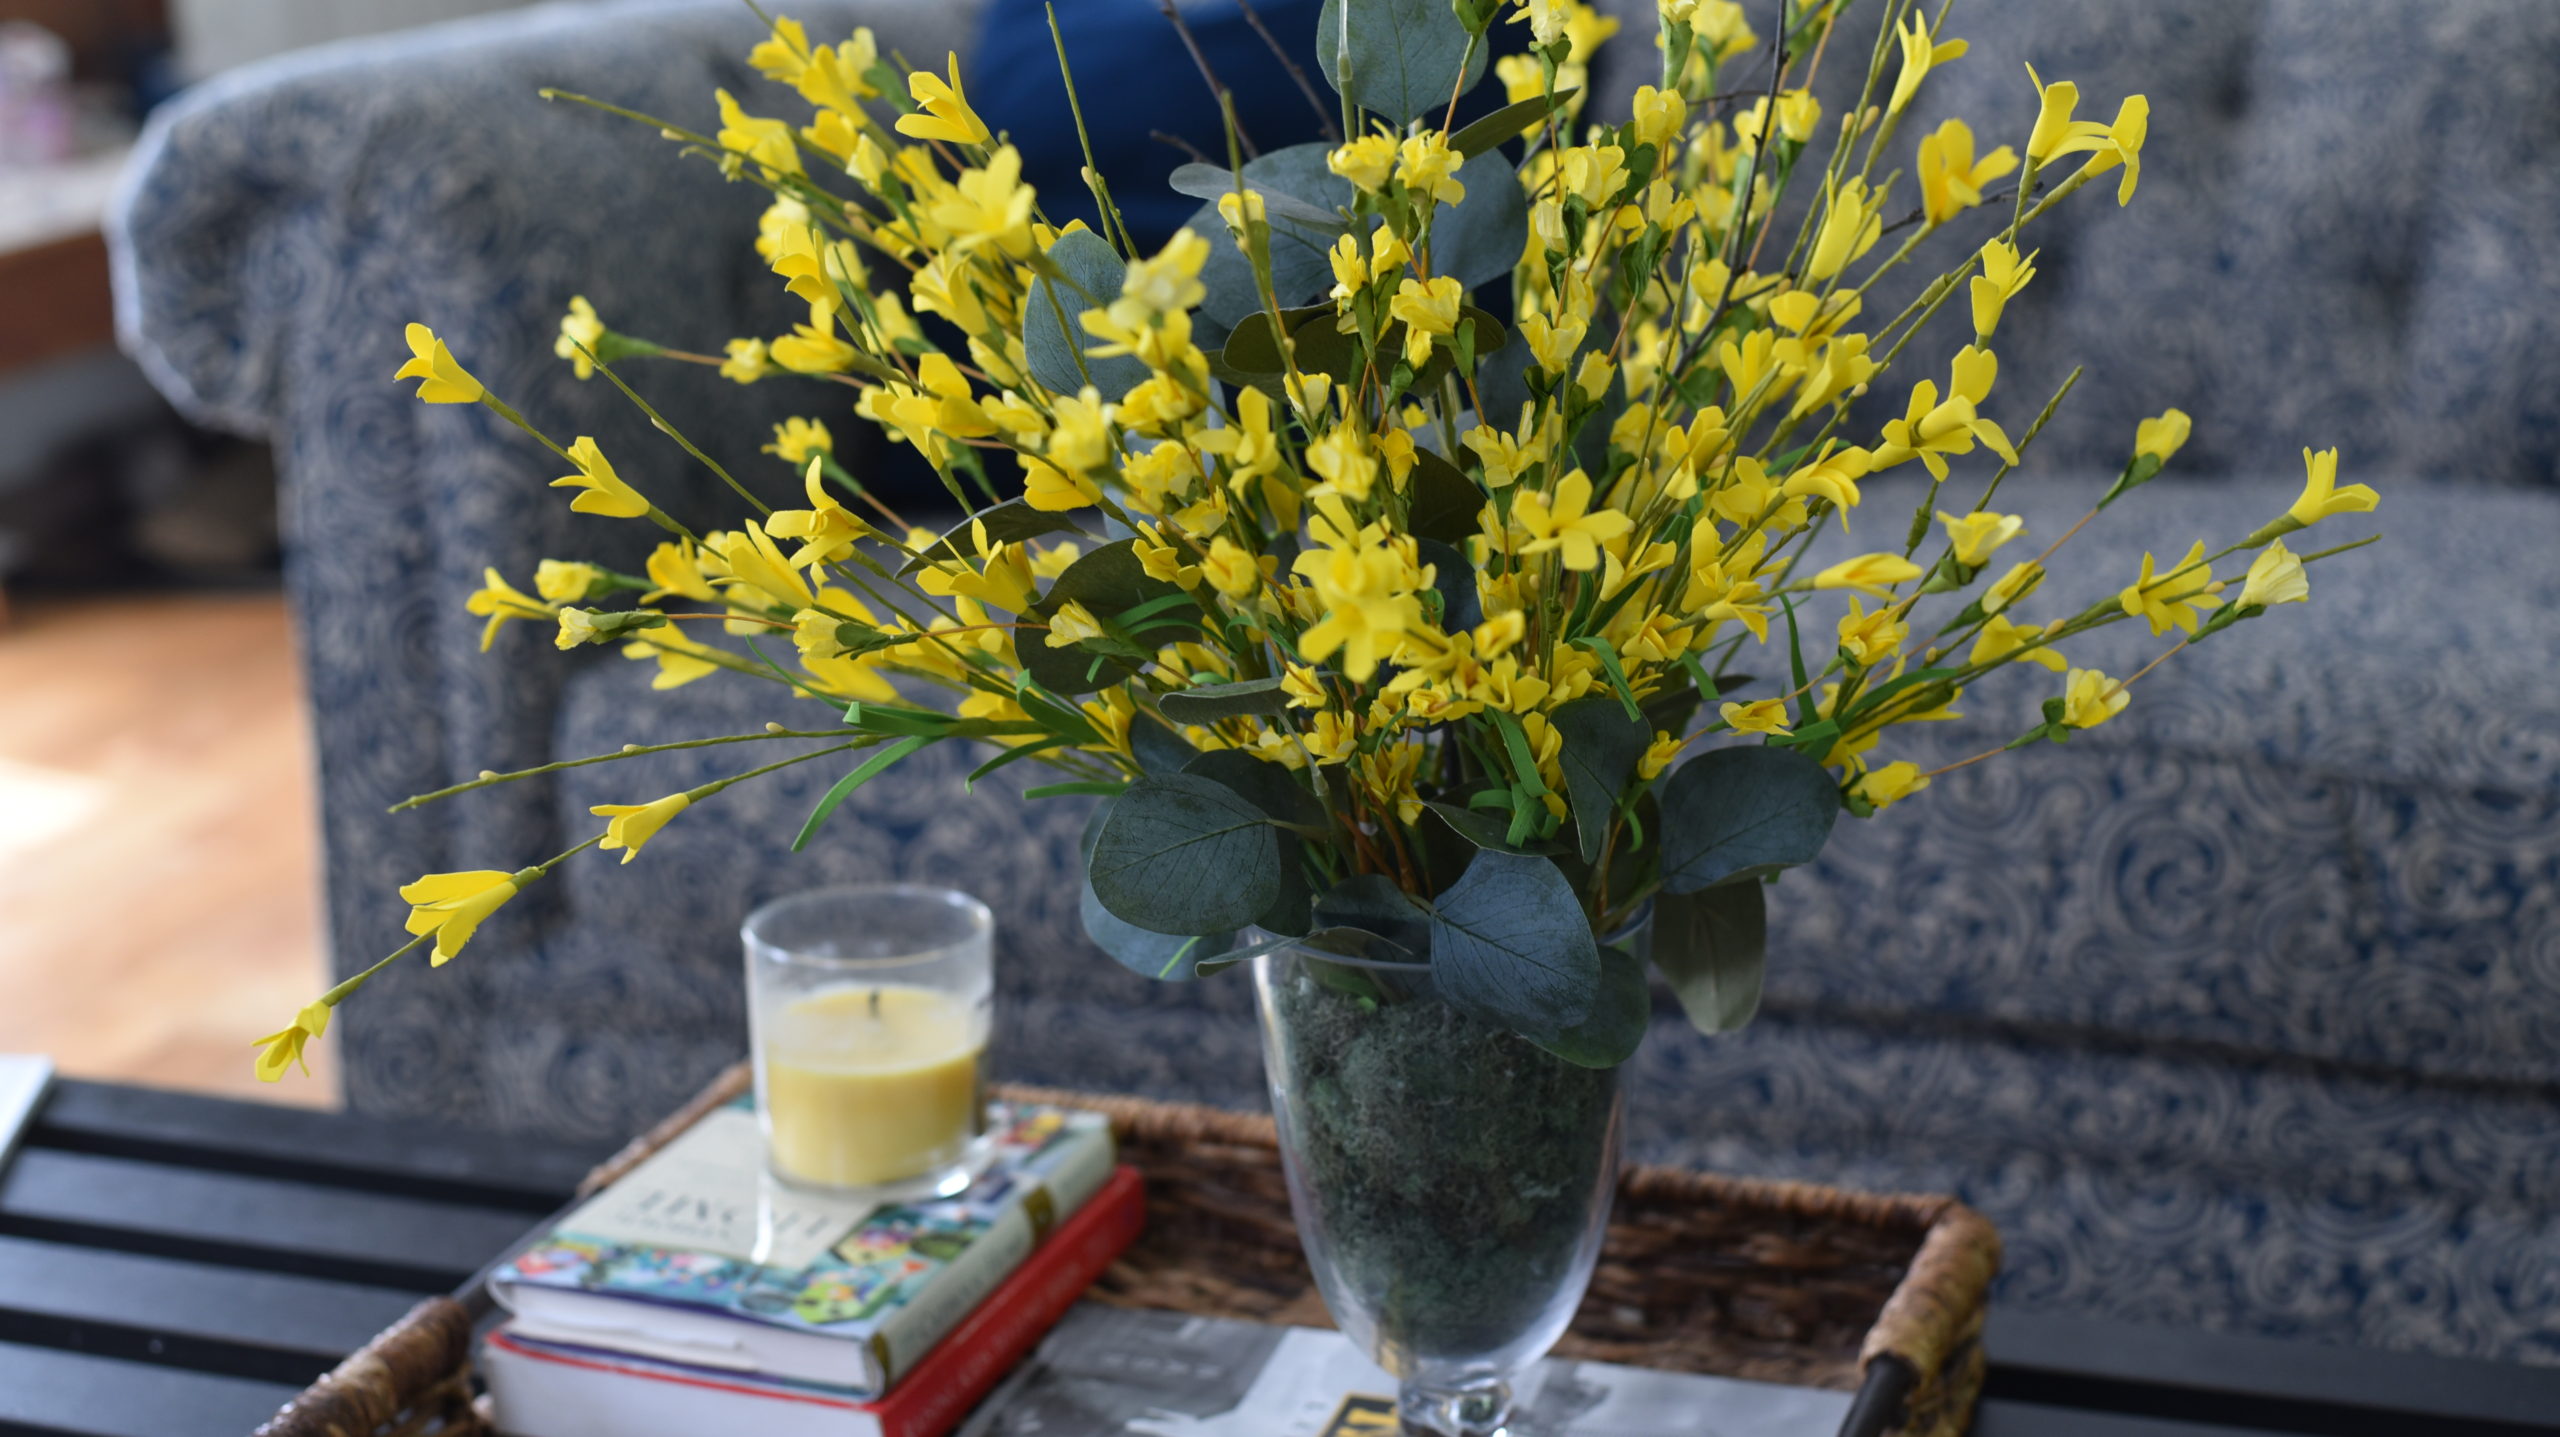
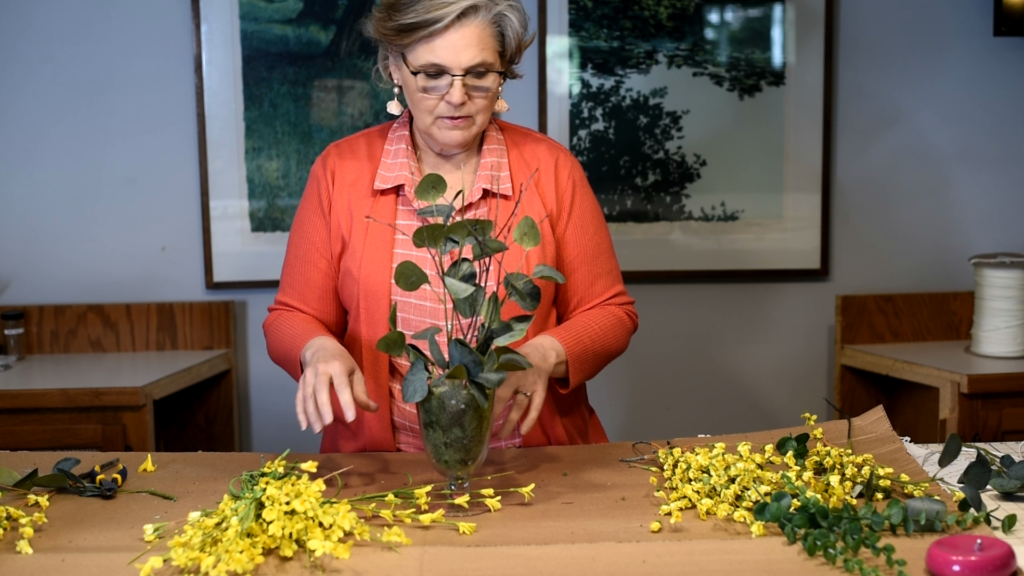
So we have laid in the foundation greenery to create the base. The next part is to create the height. The height of the flowers should be about one and a half times the height of your of the vase. My vase is seven and a half inches so we want to shoot for around 10 to 12 inches more for the flowers. I created height with those branches and a piece of the same greenery that I used for the base placed in the center. I want to bring the greenery from the base up into the inside of the floral arrangement to create cohesivity. You don’t want all the green on the bottom and the yellow on top. You want the green to be mixed up so I’m going to put that piece of greenery in the center.
Take the yellow… your main pieces and start working from the outside of the circle in rotating as you go. We are going to go around the outside first. Always fluff up your pieces as well so you don’t just keep them all together. What’s nice about artificial flowers is that they can be fluffed up a little bit. So I put one on the right side and I turn it around and put another piece on the outside of the other side working and rotating as you go. As I put a piece on one side, I turn it around and put another piece equal on the other side. So now it’s all balanced and even. You don’t want to have more flowers on one side than the other side. There will be spaces in between. I’m going to go ahead and fill in some of those spaces. One on this side and another on the opposite side, sticking that into that foam. Now, I am going to grab my smaller flowers. I place one in between the two and flip it and go to the other side. Continuing to do that all the way around, filling in the spaces. Looking at where there are holes. Just making sure that you’re symmetrical as you go along. Put one on this side and I want to put one on the opposite side. Keep working until you feel like it’s the full enough that you’re happy with it. Work around and toward the inside increasing the height of the pieces as you get closer to the center. Here is a link to a video explanation if this helps.
Stand back and look at your arrangement and see what you think. Look at it and see if you’re happy with the way it has turned out. If there are any holes and if you need to add more You can always edit and take out. If you aren’t happy with it, you can always take things out. It is very forgiving to do floral arrangements. It is very subjective. Don’t be scared of them. It’s basically all about balance. Put one on one side, the other on the other and just keep rotating. If you only have 3 of something, make them equal distance apart instead of four. You don’t have to have to be equal in number but they do need to be balanced.
And there you have it. An easy DIY flower arrangement. It is as easy as that. That’s going to be sitting on my coffee table for the rest of the summer and it will be reminding me of the forsythia of Virginia.