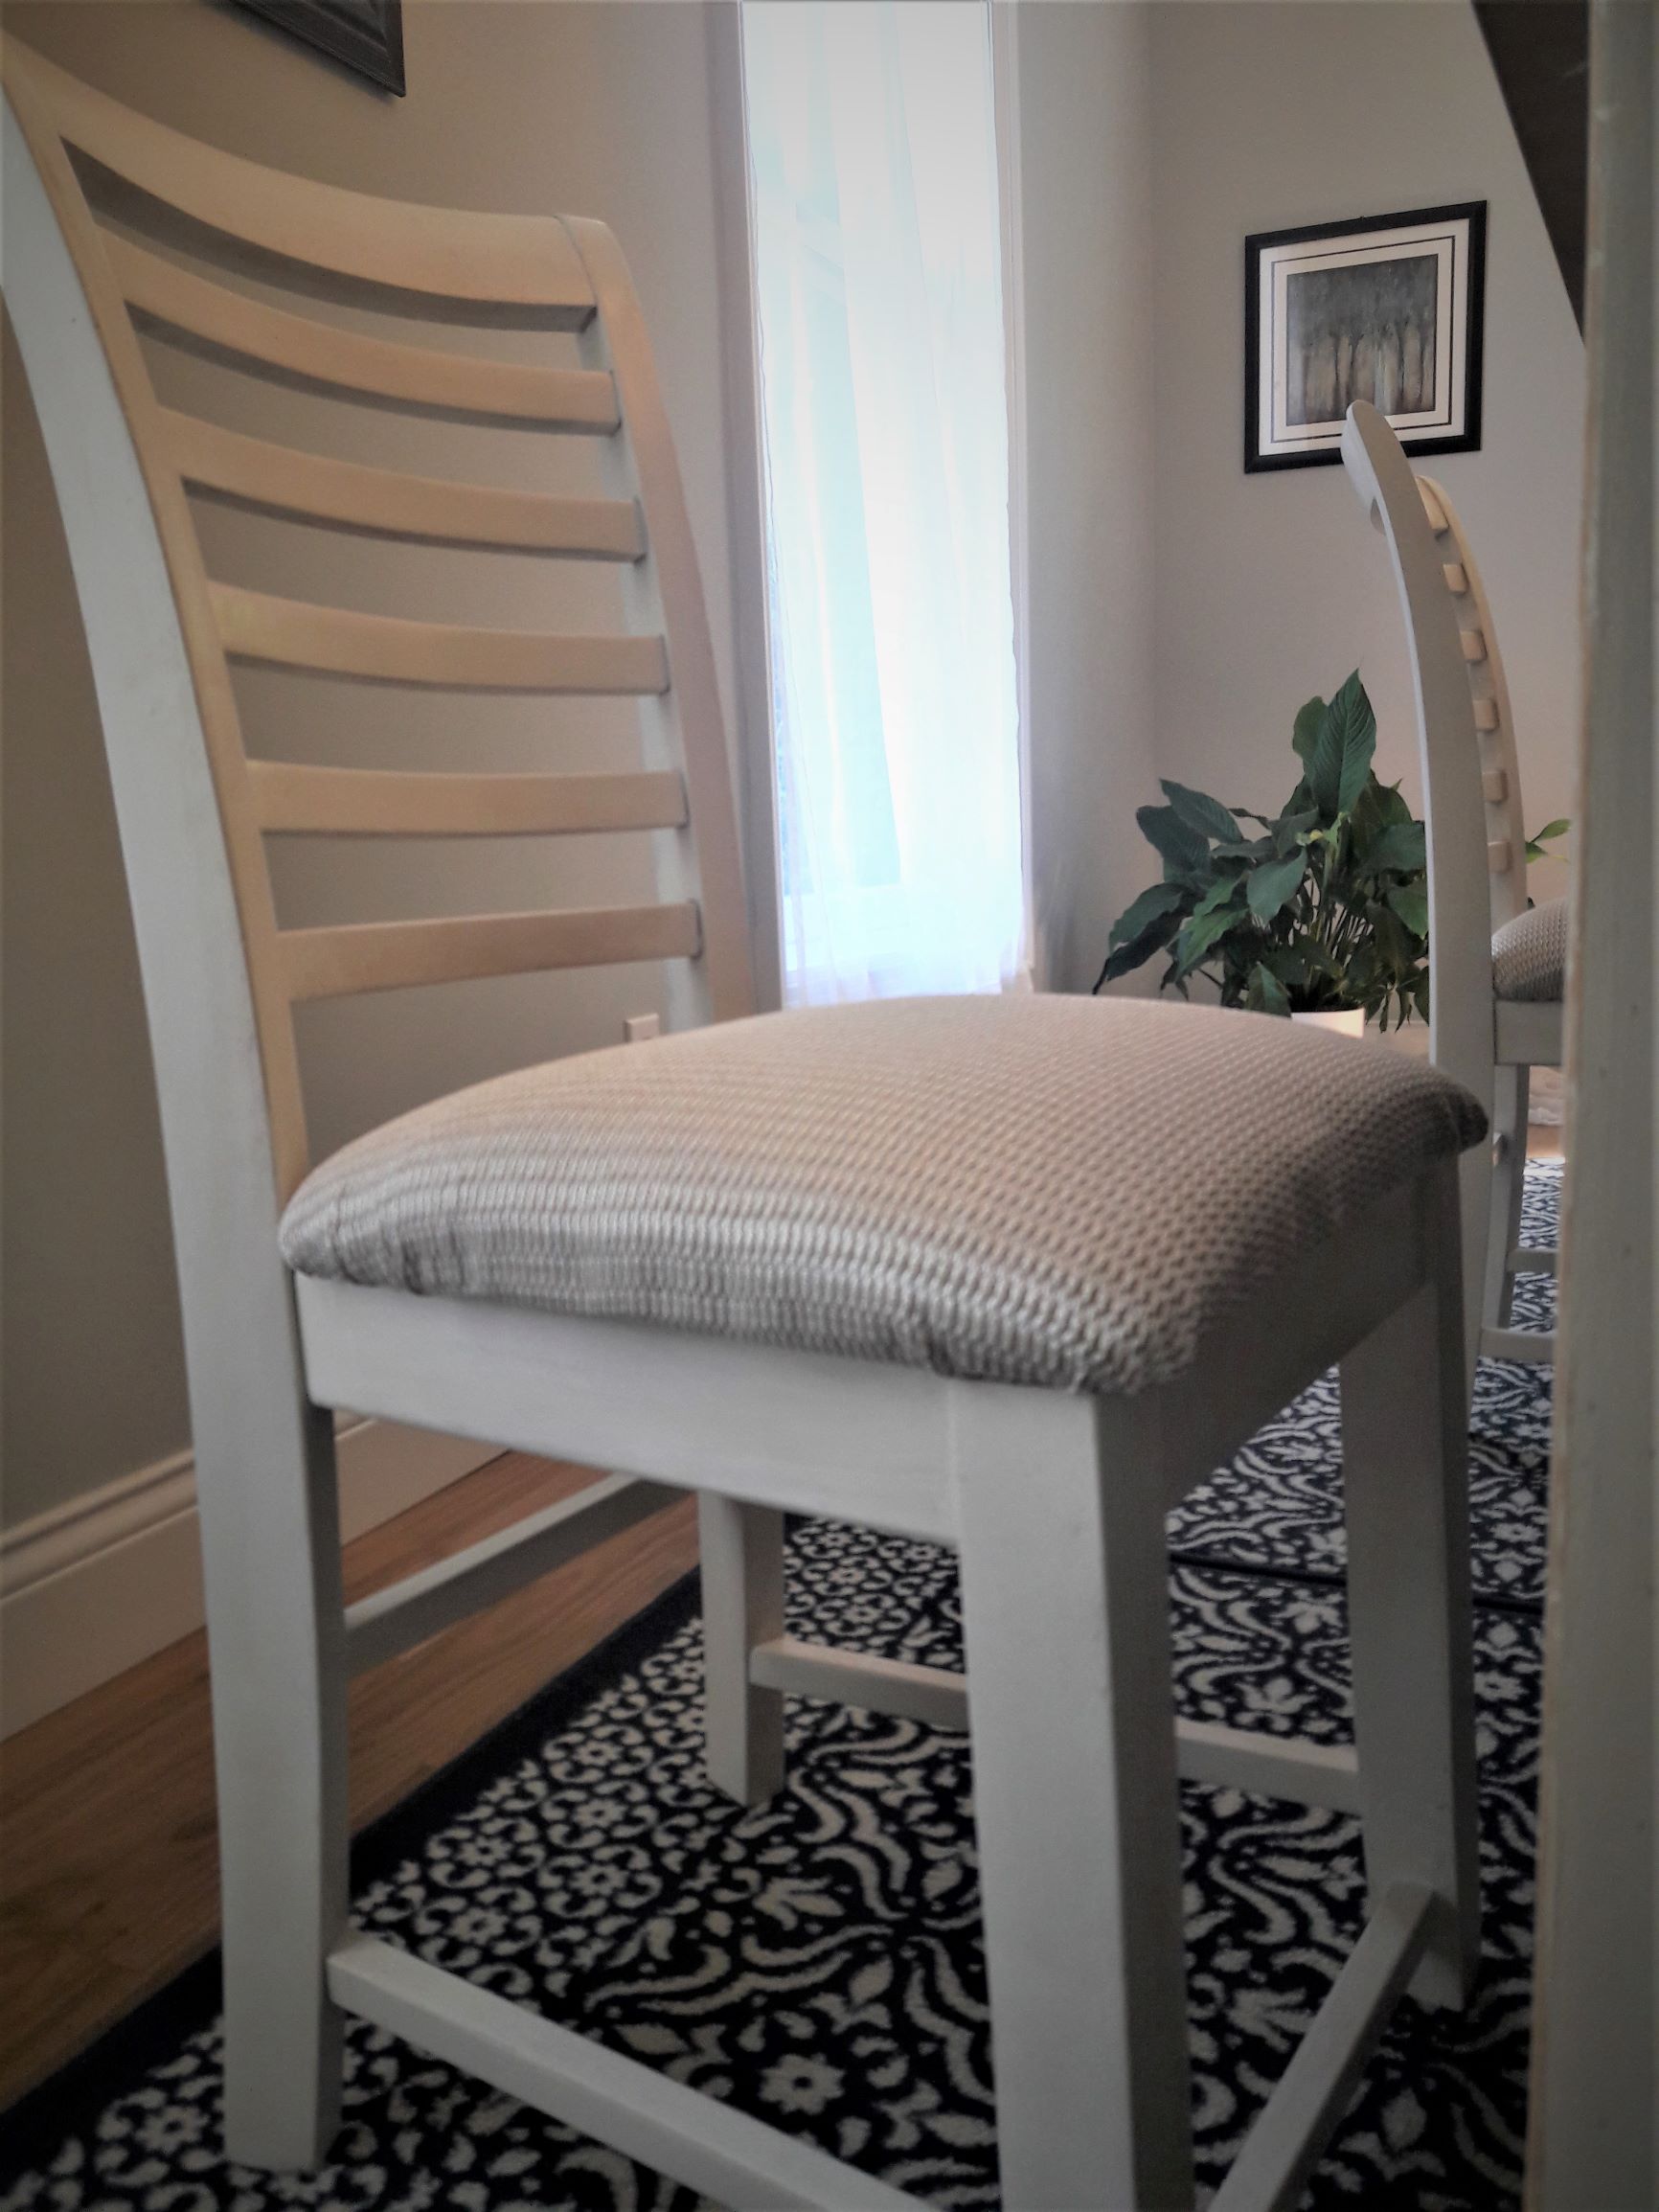
Since we are holding up in our house more right now, I decided to finish my ongoing project. I have been updating my dining room tables and chairs.
I am happy to say that I am done! It has been a long project.
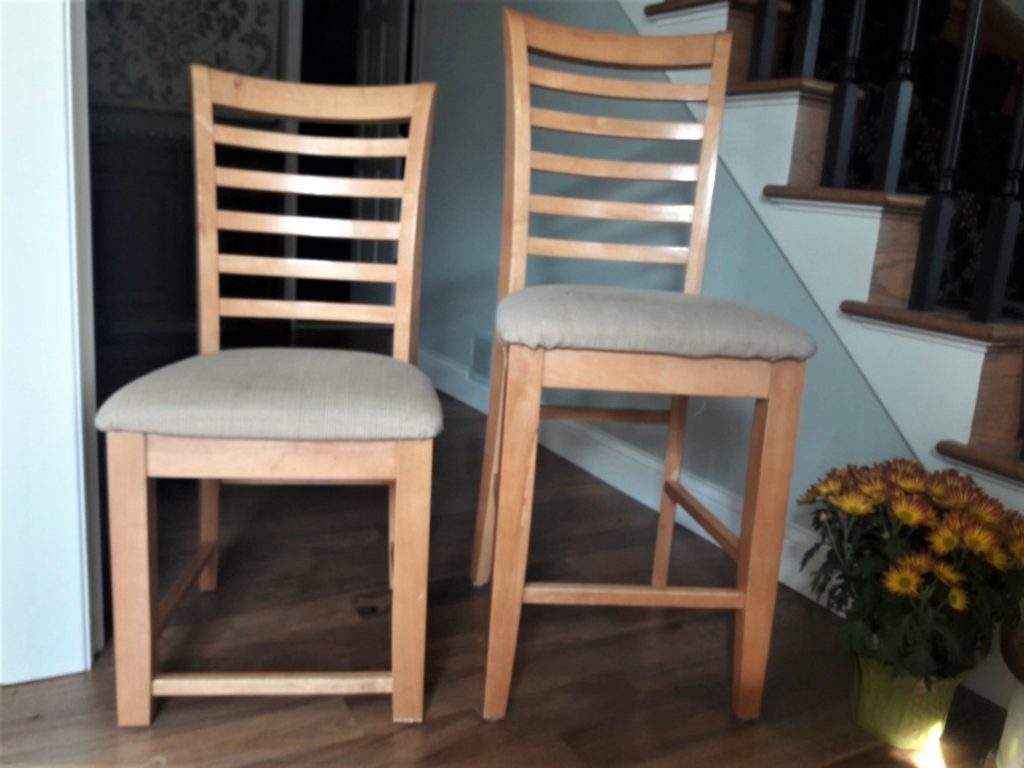
It all started because our tables and chairs were bar height. We found that the tall height was hard on some of our backs. The tall height was also a less formal look than what I was looking for.
The first thing we did was to cut our table legs down and the chair legs down. As you can see from this picture, the cross bar ended up to be pretty low to the floor but we were willing to live with that. It was far easier (we thought) to refinish the chairs and to use what we had rather than buying a new table and chairs.
Compliment Your Existing Furniture
I have a large buffet piece that has moved along with us and found a home in 5 houses including a trip across the country from Virginia to Minnesota. It was important to me that the dining room table and chairs coordinate with this piece. The table and chairs were blonde wood which didn’t compliment the buffet or our walnut floors. The buffet is a painted piece that had a distressed finish.
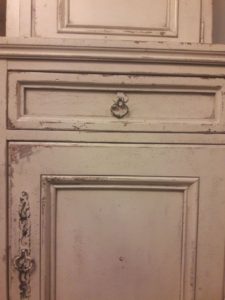
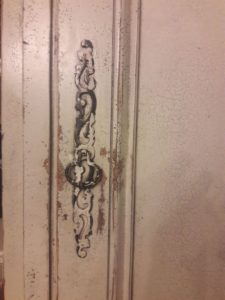
My table and chairs, on the other hand, were not very expensive but they serve us well. We have two 5′ square tables that allow us to sit up to 16 people. Each has a leaf that can change the table size to seat either 6 or 8 people. We sometimes push them together as one large table that seats 12. I love the versatility! I rearrange them depending on the number of people we are hosting.
I wanted to keep them if I could.
So, I decided to first refinish and update the table first. I don’t have any pictures of this process but it is pretty much what I did on the chairs as well. I primed and painted the table legs and apron the same color as the buffet. Then proceeded to distress them by hammering small indentations with a tip of a nail and sanding them a bit. I finished with a glaze.
I then sanded and stained the tabletop to compliment the walnut floors.
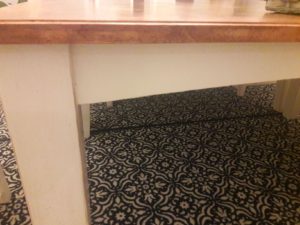
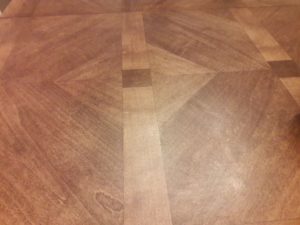
Whew! That was fun but I was not looking forward to finishing the chairs. THERE ARE 16 OF THEM!
Updating My Dining Room Chairs
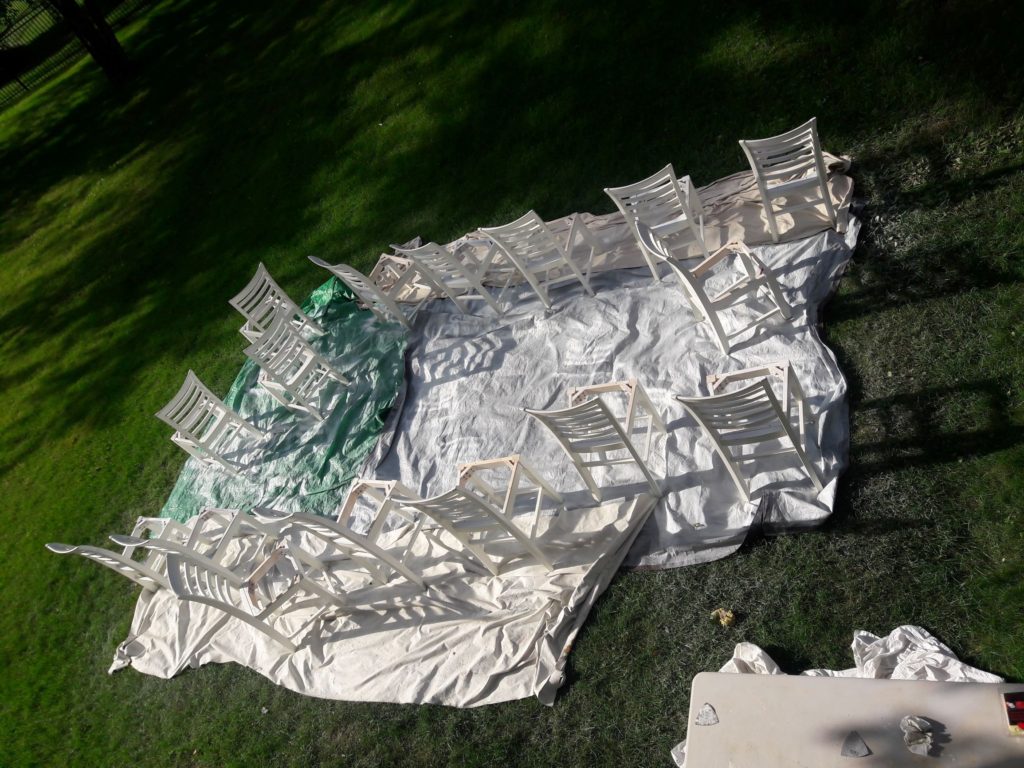
I started by sanding off the polyeurethane finish and then staining them just like I did the table top. I was hoping to match the table top. The soft wood soaked up the stain unevenly though.
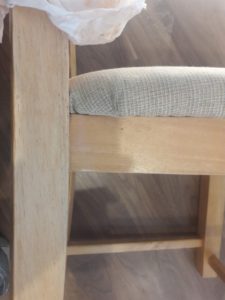
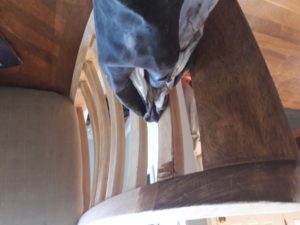
Ultimately, I didn’t like the finished look.
PLAN B… I decided to paint them instead.
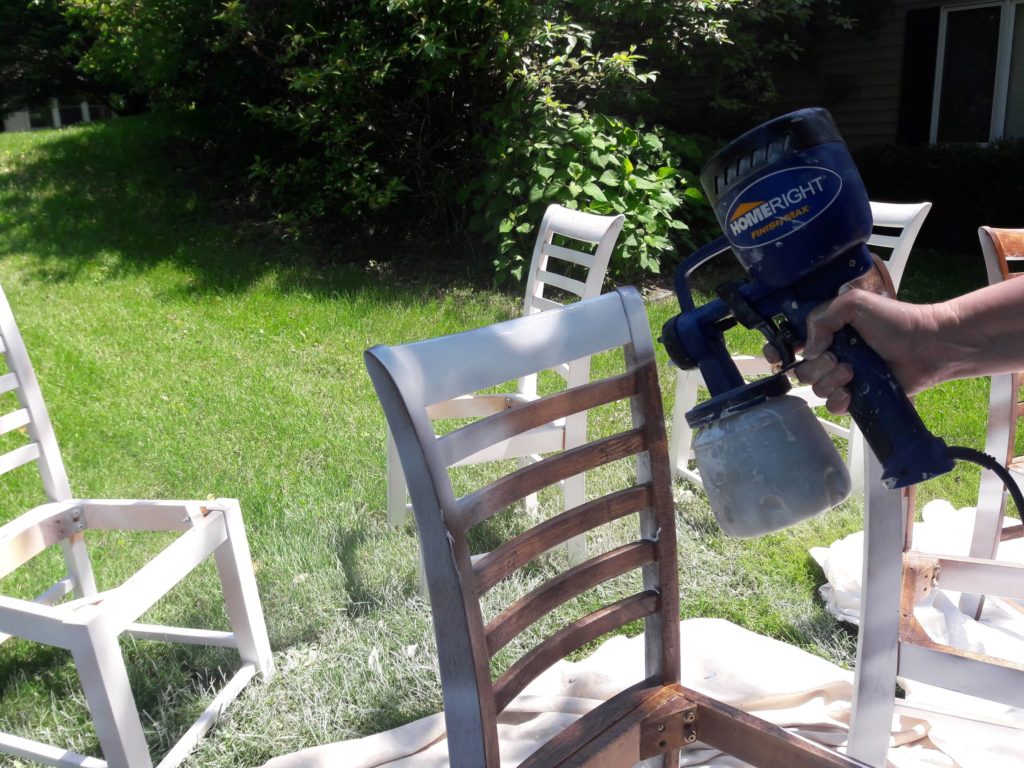
I spent several days priming and painting the chairs.
Thankfully, I had a hand-held sprayer that I bought for a client project. Each was lightly sanded and then primed and painted.
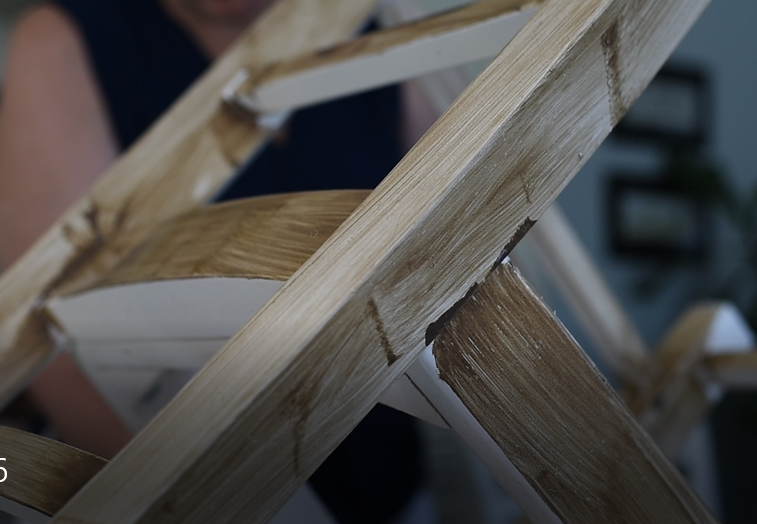
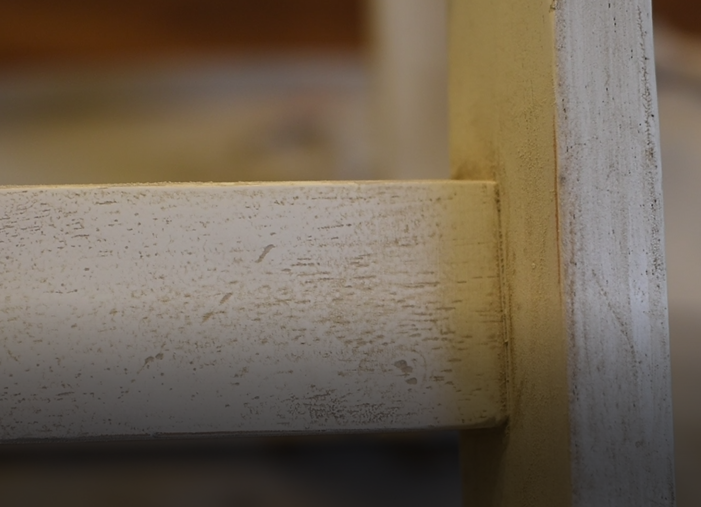
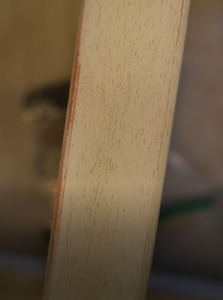
The painted chairs looked great but they looked too new when compared to the distressed finish on the buffet and newly refinished table. Each chair needed to be glazed to create a more antique look.
I was able to achieve this by wiping a glaze on each and then wiping it back off with a damp cloth leaving a small residue in grain lines.
Updating My Dining Room Chair Pads
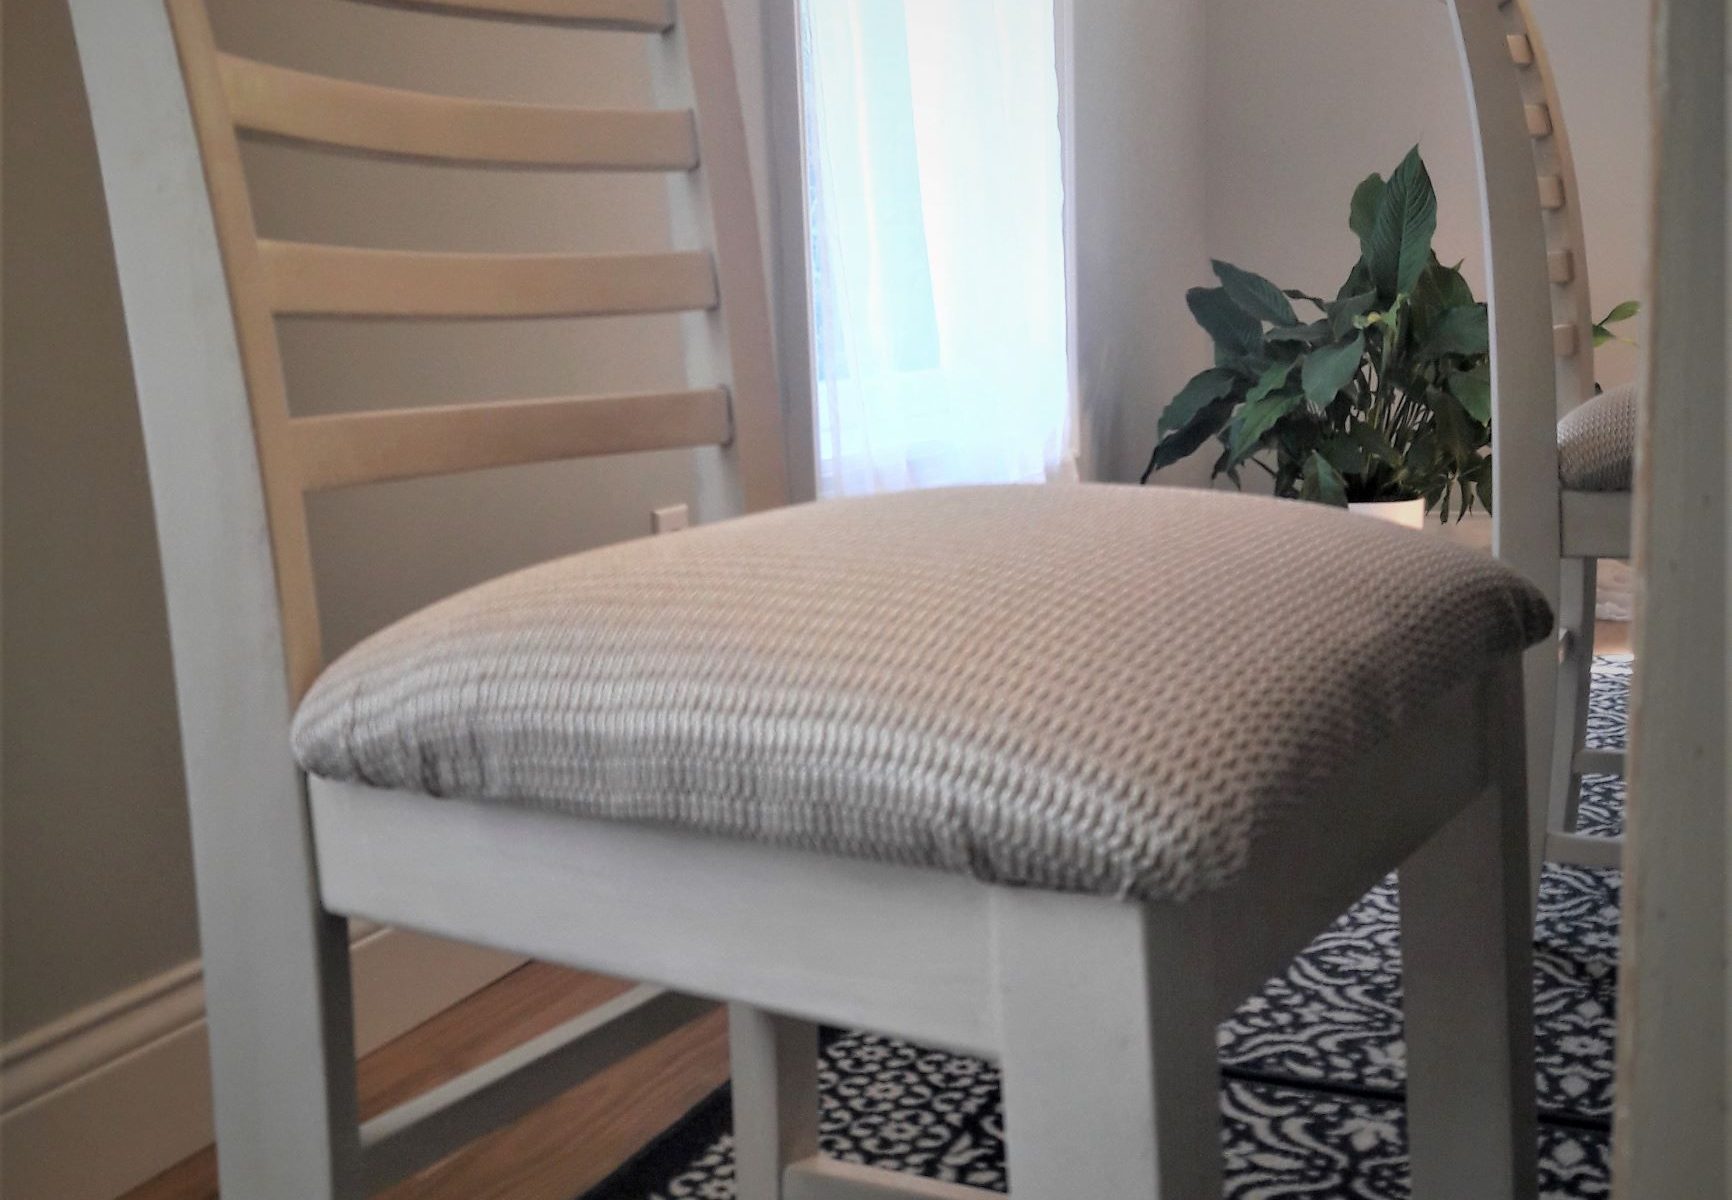
Lastly, each chair seat needed to be recovered. The pads that came with the chairs were not very comfortable. They were not very dense and not very thick. The fabric was very stained as well from many years of use.
I took this opportunity to take apart the covers and replace the pads with a more dense and thick foam to help cushion. To do this, I needed to remove all the staples from the cover fabric so I could get at the padding. First there were approximately 20 staples on the facing fabric and then over a hundred staples holding the fabric on each cushion!
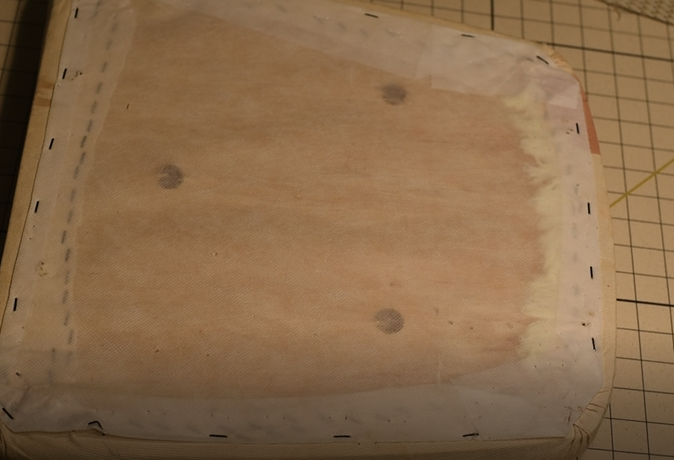
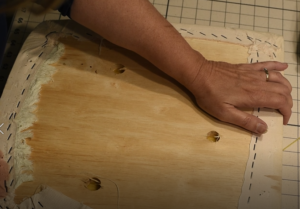
It was just too difficult to remove them so I ended up cutting away the fabric around the staples and just leaving the staples in the base board. It was taking me 15 minutes to remove just 8-10 staples. The staples were so flush with the board that I couldn’t get under them to pull them out. I ended up just turning over the board and placing the staples on the top side under the padding. Sometimes we just got to do what we got to do:)
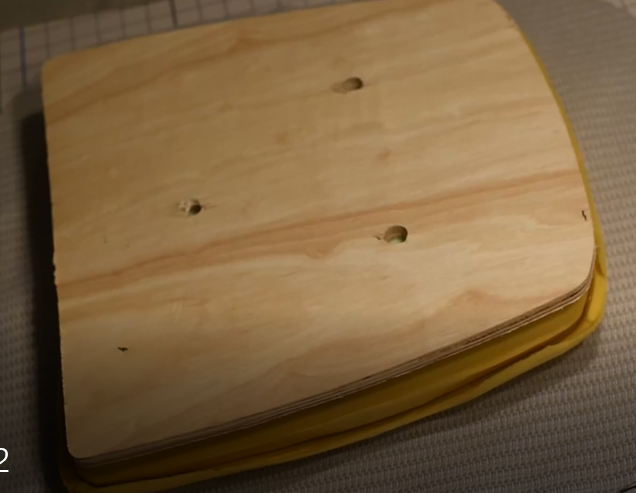
I then stretched the new fabric cover over the padding and base board. Then stapled it tight making sure the corners were smooth. I was able to achieve this by creating small folds on the underside gathering up the excess fabric.
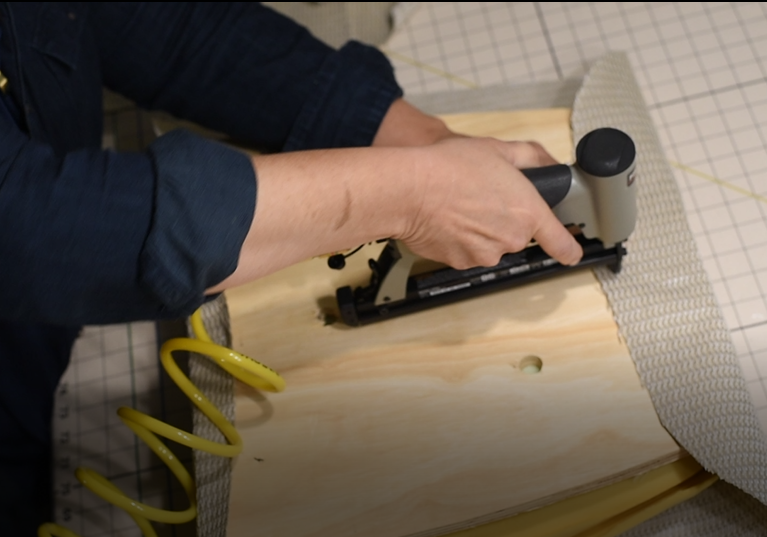
Ta Da! Finished!
As all projects go… there is always more to do…
On to the walls!
My style is a mix of traditional and modern, otherwise known as Modern European. I plan on painting them with a specialty limewash paint from Portola Paints. This will create a mottled finish similar to suede. I think it will look fantastic as a textured finish next to my buffet and modern accents.
Stay tuned for a how-to post on that.
